3 Beginner Hikes in Yukon That Will Give You All The Views
Yukon is a must-see destination for any hiking enthusiast looking to experience the heart of the Canadian Wilderness. Best of all, you don't have to be an expert hiker to appreciate its beauty.
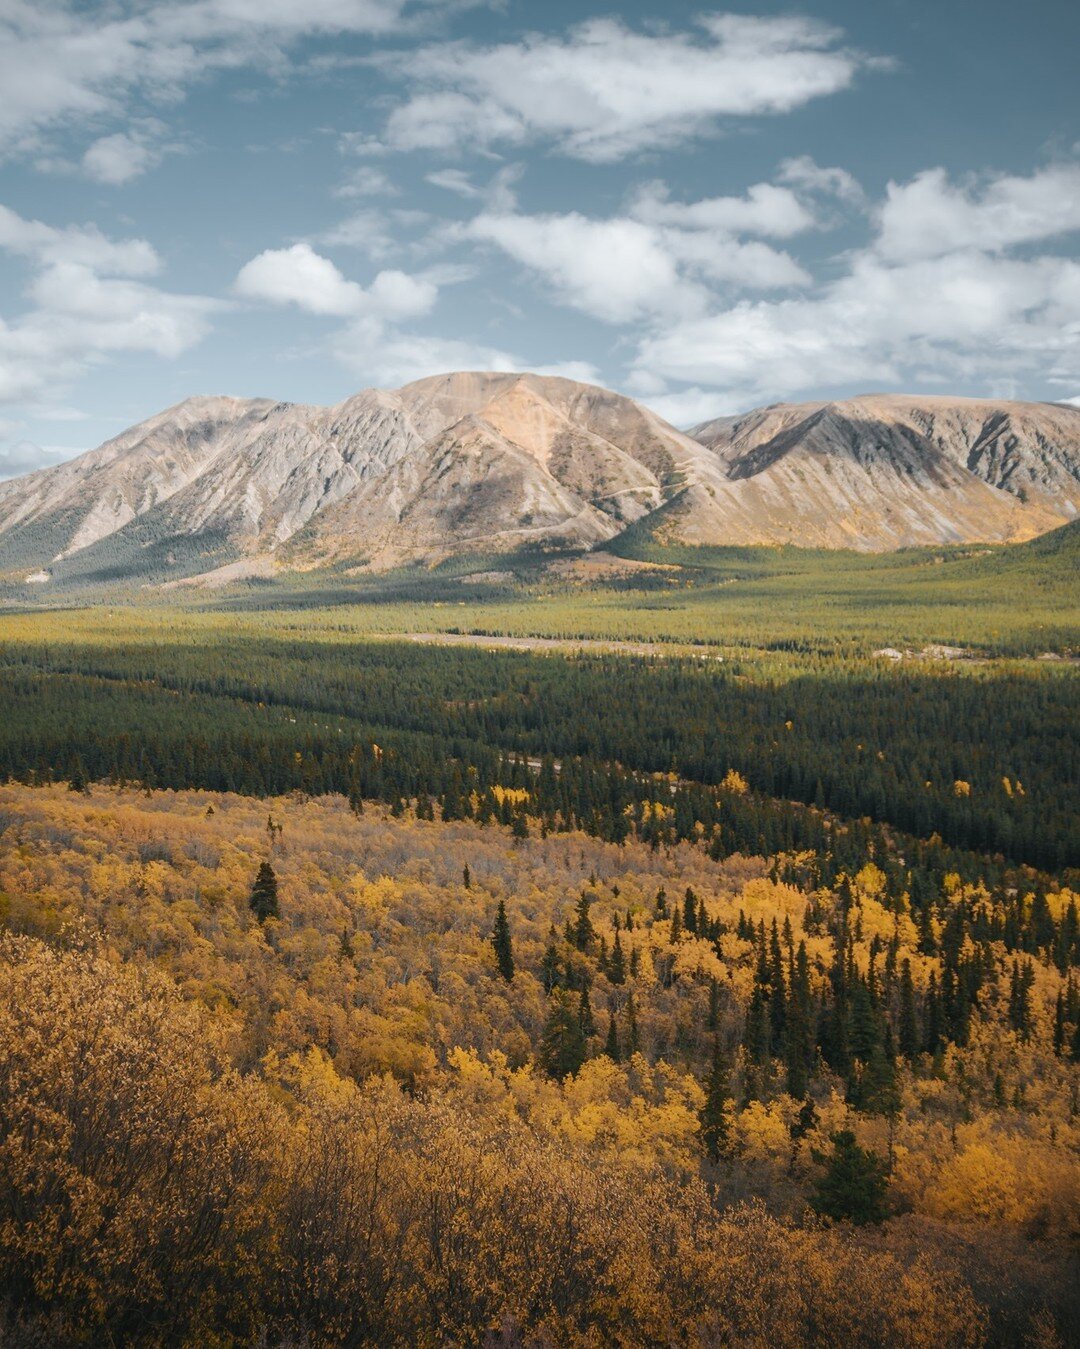
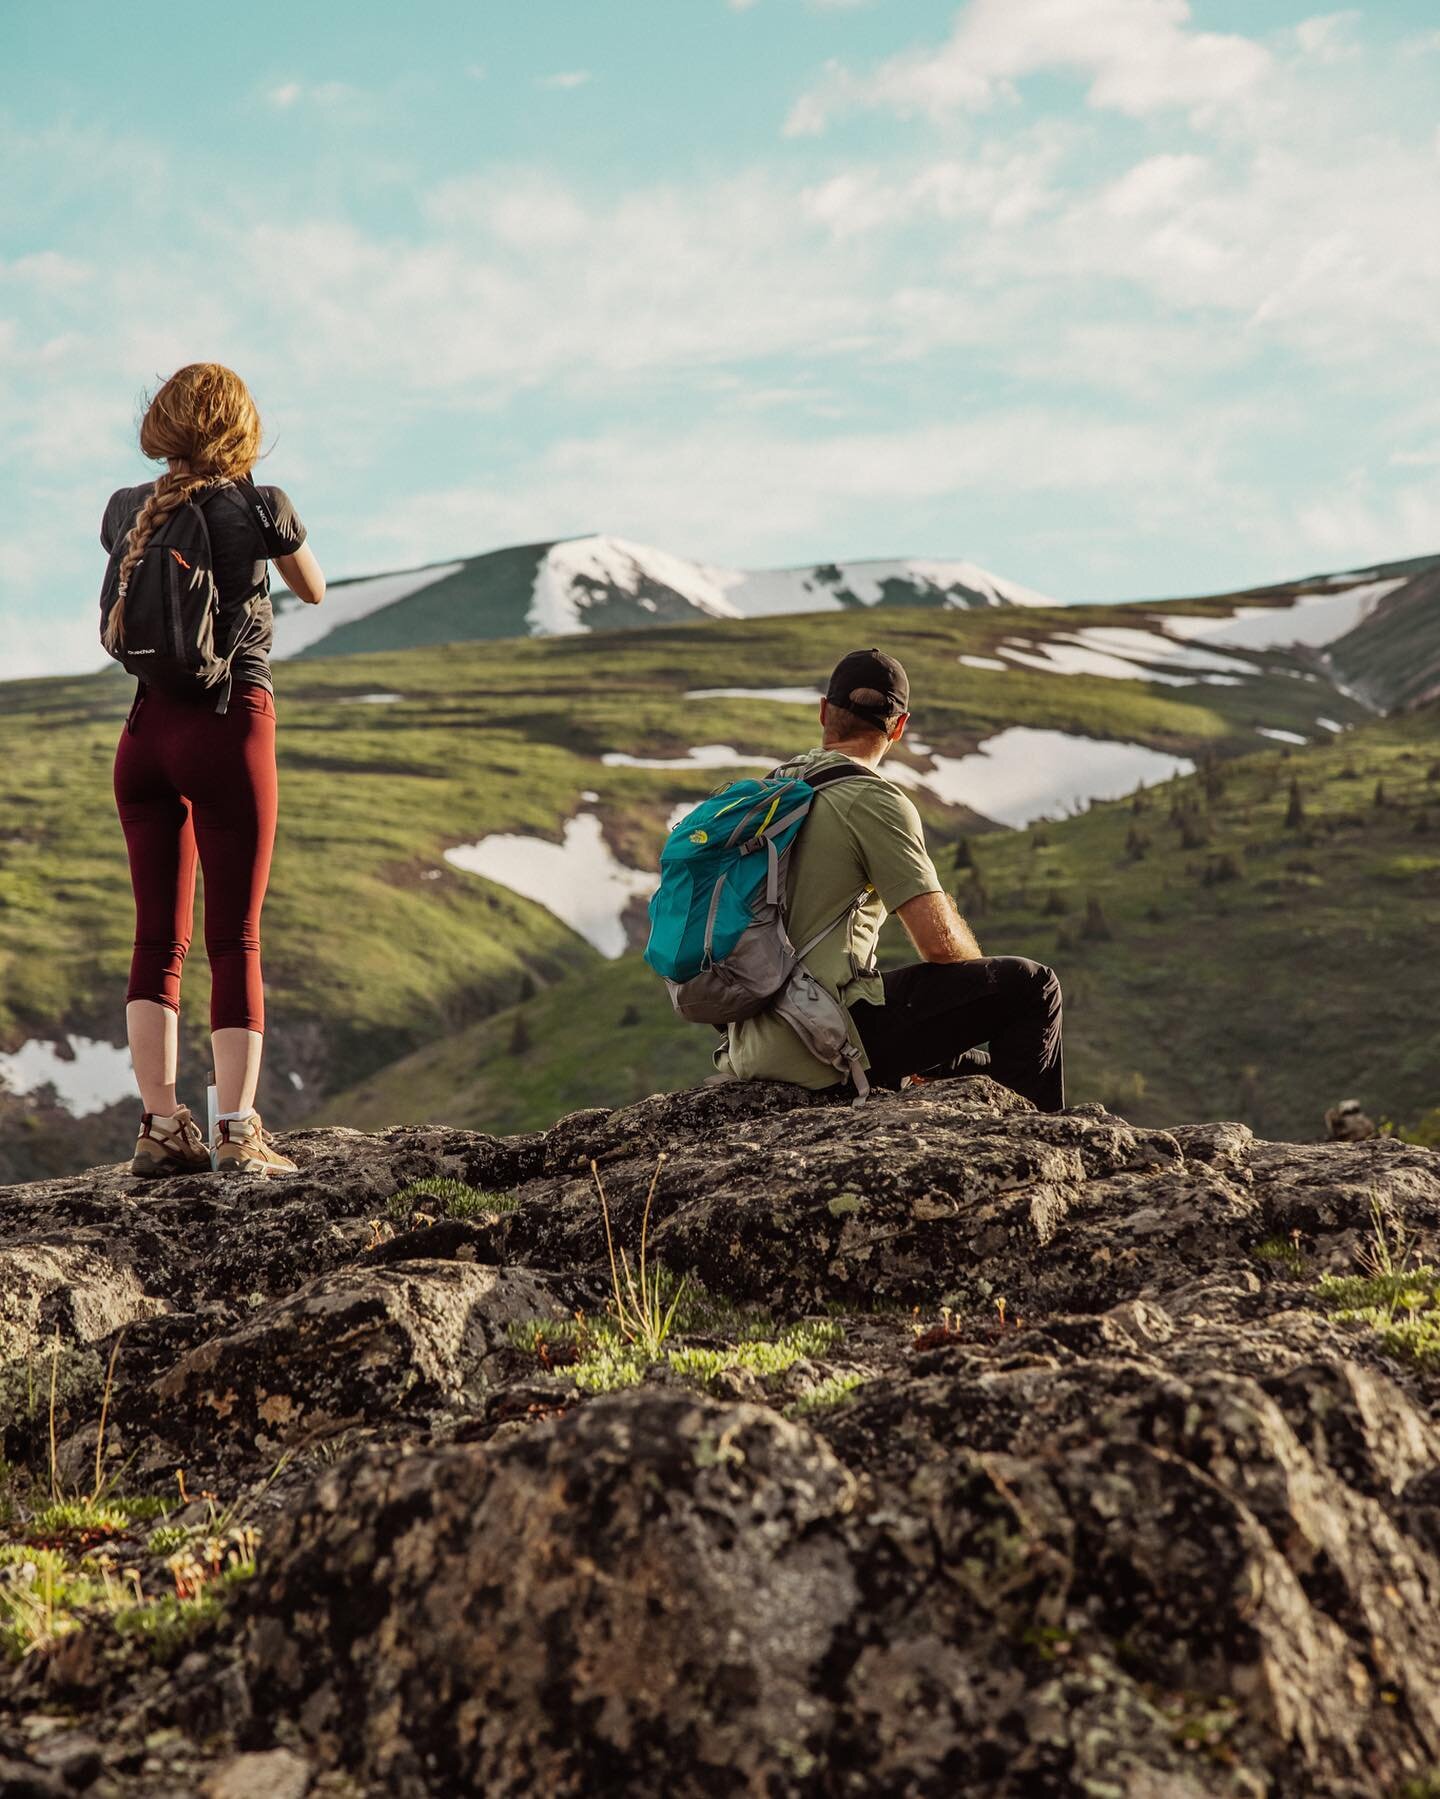
Embraced by rugged mountains, unspoiled nature, and home to the largest number of grizzly bears in North America, Yukon has adventure to offer hikers at all levels of experience. This spectacular destination offers many hiking trails that are not only easy for beginners but are also guaranteed to bring you the most stunning views. Whether you’re hiking through crystal clear alpine lakes or sub-arctic wild-life, you will not regret hiking these three must-explore beginner Yukon hiking trails.
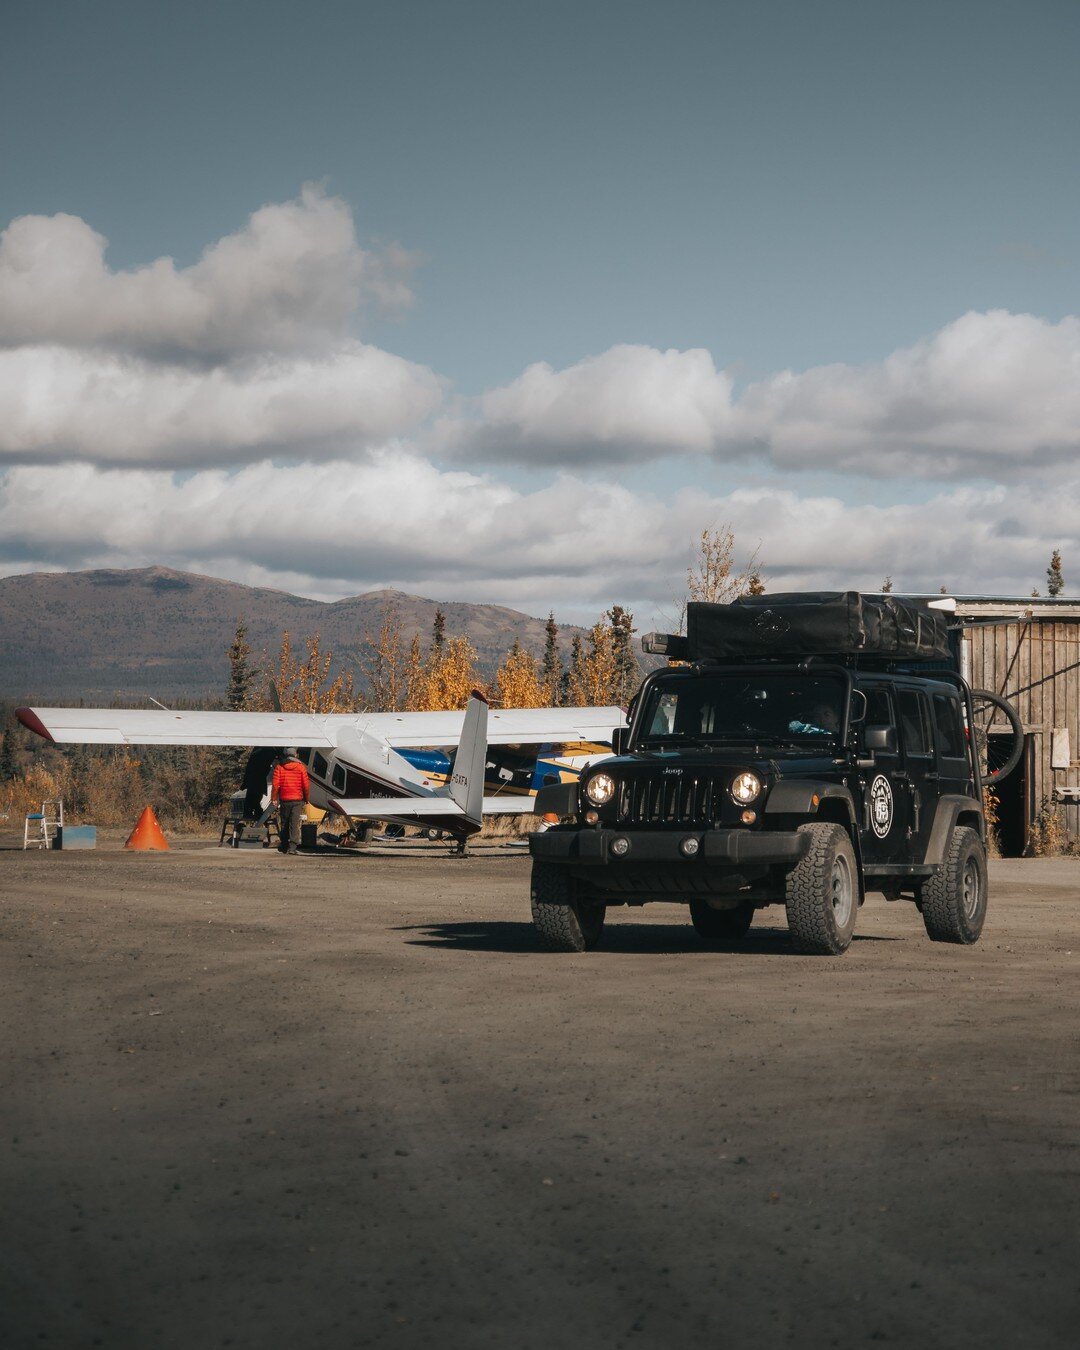
Due to the spectacular and vast wilderness, you’ll need a vehicle to access most hiking trails in the Yukon. Car rental companies like Overland Yukon and Vanlife Yukon provide all inclusive camping gear, built in itineraries, and trip support so that you can have peace of mind while traveling. So rent a vehicle, buy your plane ticket, and break in your hiking boots. Your first stop is the Fish Lake Loop Trail.
Fish Lake Hike, Whitehorse
Travel distance: 7 km
Estimated return time: 2.5 hours
Elevation Gain: 323 m
Difficulty: Easy - Medium
Region: Whitehorse
Despite the short distance to the Alpine Ridge on the Fish Lake Loop, the views from the trail are something you won’t want to miss. Perfect for beginners, you’ll be able to enjoy a relaxing and easy 2.5-hour hike with panoramic views of Fish Lake everywhere you turn. You can explore many options once you are on the ridge, all of which are mentioned below.
Trail Summary
Easily begin your hike right from the parking area following a well-defined path through the trees. The trail has a gradual ascent and starts to wind more as it climbs. Just under an hour into the hike, you will reach the tree line with a short uphill section before you reach the saddle overlooking Fish Lake, Bonneville Lakes, and Boundary Mountains. If you’re feeling adventurous, the saddle will lead you to many additional scenic opportunities.
Once at the saddle, to the right of your view is a gentle hill to explore using a dirt road. In the opposite direction, you will find a trail leading to the first summit. Relish in the amazing views here (while adding an easy 2 km round trip and 70 m elevation gain to your hike).
The second summit is an additional 2.4 km with a 120 m elevation gain, but well worth the extra effort.
Despite it not being as easy as other areas, a beginner can still easily hike this portion of the trail. The area leading up to the second summit has a less defined trail that disappears close to the ridge and becomes quite steep, so remember to proceed carefully when making your way up. Hiking beginners should not rush up the trail.
Grizzly Ridge, Tombtsone Territorial Park
Travel distance: 5 km
Estimated return time: 2-3 hours
Elevation Gain: 423 m
Difficulty: Moderate
Region: Tombstone
If you’re looking to give yourself a bit of a challenge, think about hiking the Grizzly Ridge Trail in Tombstone Territorial Park. Although a moderately difficult hike, the rolling tundra, sharp mountain peaks, shimmering alpine lakes, and breathtaking subarctic scenery all make this trip well worth the journey. Tombstone Territorial Park's Grizzly Ridge Trail is one of the most popular hiking trails, and you'll see why after hiking it.
Trail Summary
See Mount Monolith within an hour of venturing into Grizzly Valley. Begin the trail at the end of the parking area in the trees where you will find a voluntary hiker registration box. As the trail starts climbing, it winds through the forest gently sloping upwards. The trees will decline as sub-alpine bushes eventually replace them. Continue hiking until you arrive at a small opening with stacked rocks, right before you would usually start to ascend the ridge.
From this spot, you can get a view of Mount Monolith directly to the west and continue hiking on or turn around and easily return the way you came. To reach the ridge top, the trail becomes quite steep at first but gradually eases off as you gain access to it. The trail along the ridge is still very well marked, adding some ease to your journey.
Go to your camper or van once you have finished this trail and enjoy some well-earned food.
The Auriol Trail, Kluane National Park
Travel Distance: 15 km
Estimated Return Time: 4.5 hours
Elevation Gain: 367 m (1204 ft)
Difficulty: Easy
Region: Haines Junction
Perfect for an easier beginner’s overnight hike or half-day trip, the Auriol Trail offers spectacular views of subalpine and alpine scenery within 8 km of the trailhead. Hiking in such a lush and natural setting isn’t easy to come by elsewhere, especially only 8 km into a hike. The trailhead is located only ten minutes south of Haines Junction; so close that you can complete the hike in just three hours or take the whole day to relish in the beautiful alpine scenery.
Trail Summary
While the hiking trail itself does not rise above tree line, it is highly recommended to extend the hike into the alpine area from the trail. Begin the trail by crossing a small clearing. From here on, the trail mostly stays in the trees. It is well-used and very easy to find.
As the trail climbs gently, you will eventually reach a junction in the trail after 2 km. There are two trails leading to the campground, with the left fork taking a more gradual route, while the right fork is 500 m shorter but with more ups and downs. It is typically recommended to take the left fork and then make a loop and return via the right fork. Taking the left fork, the trail will pass by a small lake and meet Auriol Creek.
At the halfway point (7.5 km), there is a small campsite with tent pads, washrooms, and firepits. There is plenty of water nearby since Auriol Creek runs right by the campground. You will pass through a nice mix of forest on the way back to the trailhead, or head into the alpine for an extended hike.
Plan to add 5 km distance and 430 m elevation gain if you are going to head into the alpine for an extended hike. You will reach a bridge 500 m west of the campground - the best place to head southwest towards the mountains and alpine. This requires crossing the small creek several times to pick your way up to the Auriol bowl and climbing one of the steep moraines that run by the creek. It will be easier to pick the one with the least amount of brush on its top. You can easily hike towards the bowl once at the top of the moraines. At the bottom of the bowl is a beautiful alpine lake but proceed with caution and be careful not to get too close. Make your way back to the bridge and continue following the trail to make a loop after exploring the alpine.
As you can see, Yukon isn't just for hiking experts. But it’s wilderness can only be appreciated by those who are courageous enough to go out and witness it for themselves. Be sure to pack the proper equipment and, again, note that most hikes in Yukon can only be accessed if you have a private vehicle. Consider booking through trip organizers like Overland Yukon to get the most of your Yukon hiking trip. Most areas outside of Whitehorse have no cell service, so be sure to carry a sufficient water and food supply, as well as first aid equipment and adequate clothing for the weather.
What’s the Best Time to Hike in the Yukon as A Beginner?
Beginner hikers can enjoy easy hiking conditions during warmer months in the Yukon, as well as endless daylight at certain times of the year. During the June solstice, daylight lasts as long as 24 hours in certain regions. due to the proximity to the Arctic Circle. Yes, you read that right. This seemingly uninterrupted daylight is great for multi-day hiking trips, non-stop adventure, and is one of the defining traits that makes Yukon a supreme hiking destination for beginners.